From time to time we get the same inquiries about various aspects of motorcycle building. Brakes is one of those subjects. People come into the workshop, phone or email saying ‘my brakes are spongy and how can I fix them’ or ‘my brakes work, but what can I do to improve them’.
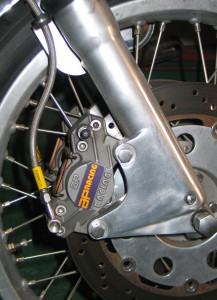
Photos no.1 shows my Commando double disc conversion. It features twin “RGM” 12 inch discs with “AP Racing” calipers mounted on “Norvil” sliders. The master cylinder is “AP Racing”. Believe me the bike stops.
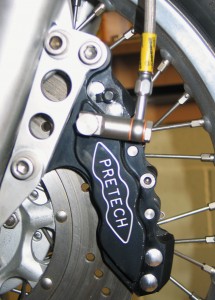
Photo 2. shows my Honda CB 750 four featuring a single “Pretech” six pot slim back caliper operating off the original disc and master cylinder.
Both of the above are vast improvements on the original brakes. However some people are very reluctant to even touch the brakes as they think it will cause them to fail and crash as soon as they ride the bike. It really is not that complicated, but if you are at all unsure of you own knowledge or abilities it would be best to speak to us or bring it in for us to work on.
The most common faults which lead to poor brake performance are the following:
- Air in the system is the most common of them all. This is caused by the brake not being bled properly after a rebuild, or a loose connection on the hose lines, banjo bolt or bleed nipple allowing air into the system.
- Sticking pistons in the brake caliper allowing the pad to constantly run on the disc, causing friction and heating the fluid. The fluid boils and generates air bubbles so leading to spongy brakes.
- Leaking fluid from the master cylinder seals or piston seals allows air into the system.
- Worn out or tired brake hose. These degrade over a period of time so leading to greater expansion of the hydraulic fluid and loss of performance.
Obviously these are the four most common problems. Physical damage, like an accident can also lead to problems or just bad positioning of a brake hose leading to it rubbing on another part of the machine.
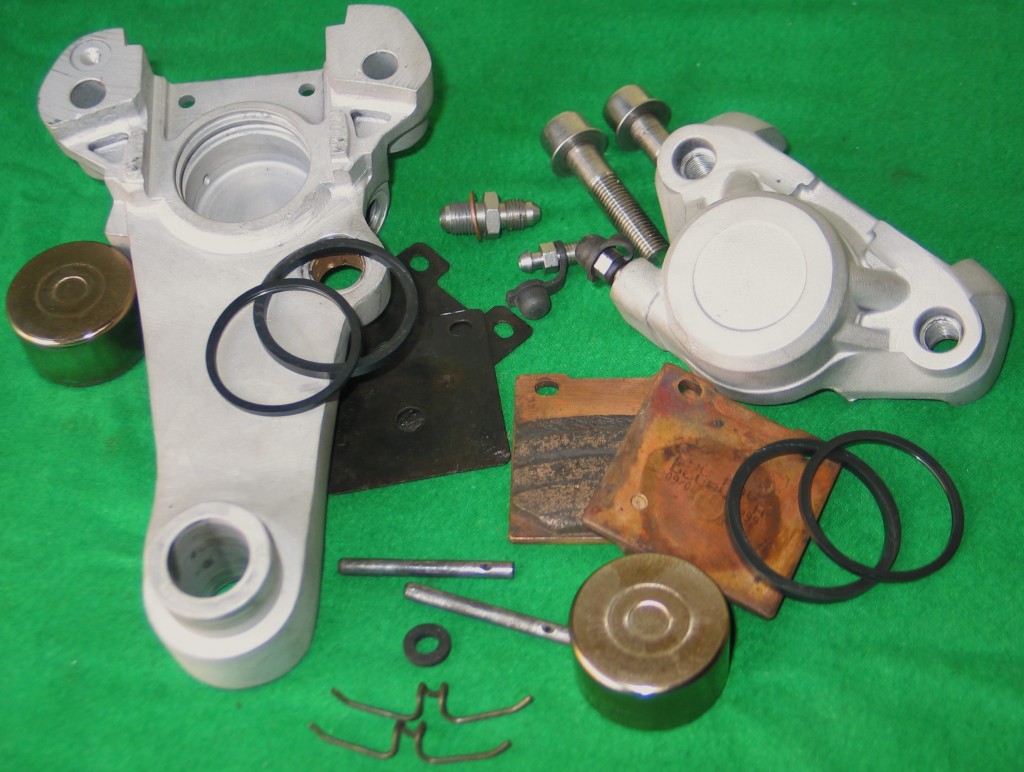
SERVICING YOUR BRAKES: Once you have stripped your brakes, clean them thoughly and blow small oil ways through. Cleanliness is important as any dirt will cause damage to seals and reduce performance. Once reassembled with new seals, ensure firstly that all connections are tight. Use new copper washers on banjo bolts and make sure the bleed nipple is clean and not blocked with road crap. It is common for them to get blocked, especially if the caliper is mounted under the swinging arm, where it is punished by road dirt. This position on the bike will also be rough on the pistons and this is often the cause of seizure. Some bikes will have gaiters on the pistons to help protect them, but nowadays this is not often the case.
Speaking of equipment for bleeding, I have always used a length of clear plastic tube only, no non-return valve or fancy pressurised kits are really needed. Just ensure the tube is tight on the nipple head and long enough for the end to sit in the brake fluid bottle. However it is easier to bleed with two people.
The procedure: No.1 presses the lever down. No.2 opens the nipple, allows fluid and air out, then shuts the nipple. No.1 then lets the lever out. The cycle continues until all the air is removed and the brakes are firm. Every so often stop and just pump the lever to see how firm it is getting. Obviously the fluid is topped up as you go. A problem you may encounter is that the fluid may become air rated and fully of tiny air bubbles. In this case just leave it to settle for few hours before going again. It amazing what an overnight break can do for an air lock. Some calipers have two bleed nipples for each side of the caliper and this can be useful for easy removal of the air.
If you are still having problems getting the air out, stop a while, check the system for oil tightness, if all is OK then sometimes hanging the brake caliper with the bleed nipple at its highest point and tying the lever back under load over night can help.
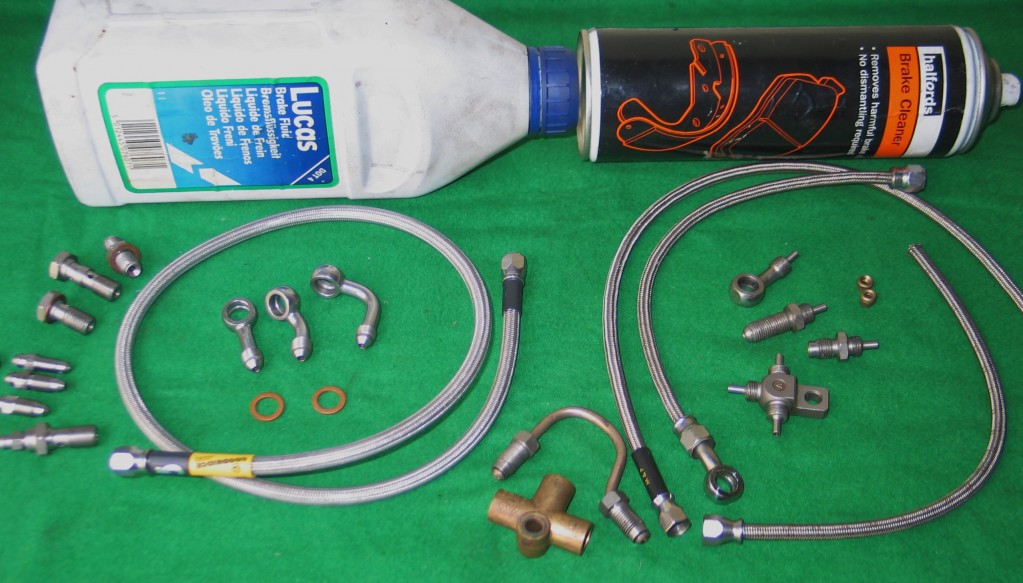
BRAKE FITTINGS : Most people nowadays upgrade their old rubber hose with new higher strength braided hose. I use “Goodridge” build-a-line hose now as it much easlier to fit and is easily obtained off the shelve from most motorcyle shops now. You can see the new build-a-line hose on the left in photo 5. The older hose, on the right in the same photo, was harder to fit as the banjo had to be postioned exactly in the right position for it to prevent the hose being twisted when fitted. With this new hose you simply bolt your banjos in position and then screw the hose on. Motorcycle shops sell it in all the common lenghts and it comes in 25mm increments. Banjos are also sold in various angles.
By Colin Jones